Tools required to complete the installation.
- Electric Drill with 8mm masonry drill bit
- Suitable Hex Screwdriver
- Masking tape to ensure tiles are not damaged when drilling
- Stainless Steel Pipe cutter or suitable hacksaw
- Spirit level to get rail level
- Tape measure
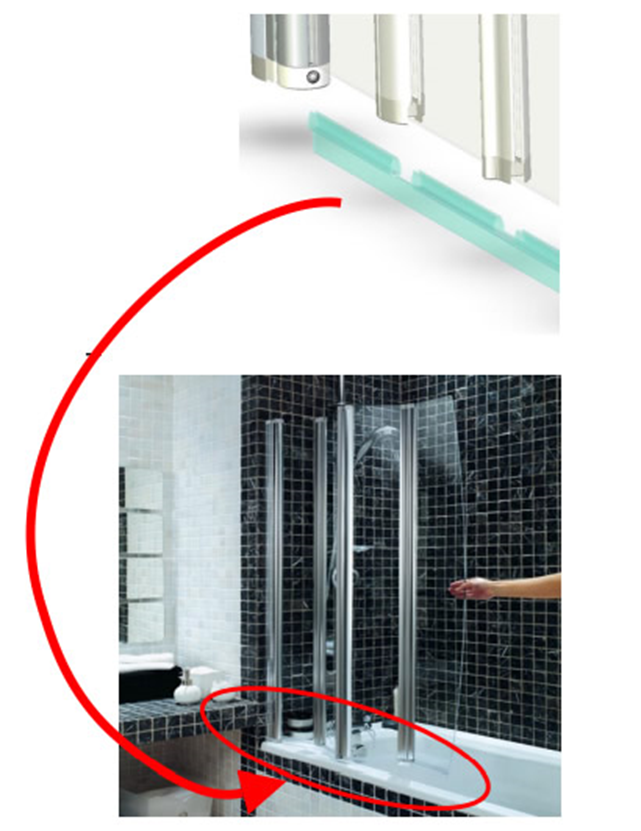
Stainless Steel Shower Rail Straight 2m Installation Steps
- Measure up from the inside base of the bath approximately 190 cm
and make a horizontal line where you would like bracket “a” to be positioned
(This is so the rail and curtain fit perfectly as shower curtains are
normally 180cm drop from shower rail) - Fix masking tape to the area where you will fix the first bracket and carefully
mark, drill and loosely fix the bracket with the screws and rawplugs supplied.
Note. You will need an 8mm masonry drill bit to go through your tiles - Measure the distance between the tiles and cut the rail 10mm short of this
measurement with a pipe cutter or hacksaw
(ie If distance is 1900mm – make the cut at 1890mm. This is so the tube and ends have some adjustment) - Slide both fixings onto the tube, screw in and loosely fix the first bracket.
- With a spirit level on top of the rail, push the second bracket into place,
check for the rail being level and at the same distance from the wall as the
first bracket. - Mark the wall where the second bracket will fit and remove rail and first
fixing completely from wall again. Take care not to crack tiles when fixing. - Fix masking tape to the area where you will fix the second bracket and
carefully mark and drill the second bracket and insert the rawplugs supplied. - Slide both brackets onto the rail and offer the rail up to the wall and fix in
position at both ends. - Tighten the allen screws on both brackets with the allen key provided.